
1. Choose your workspace
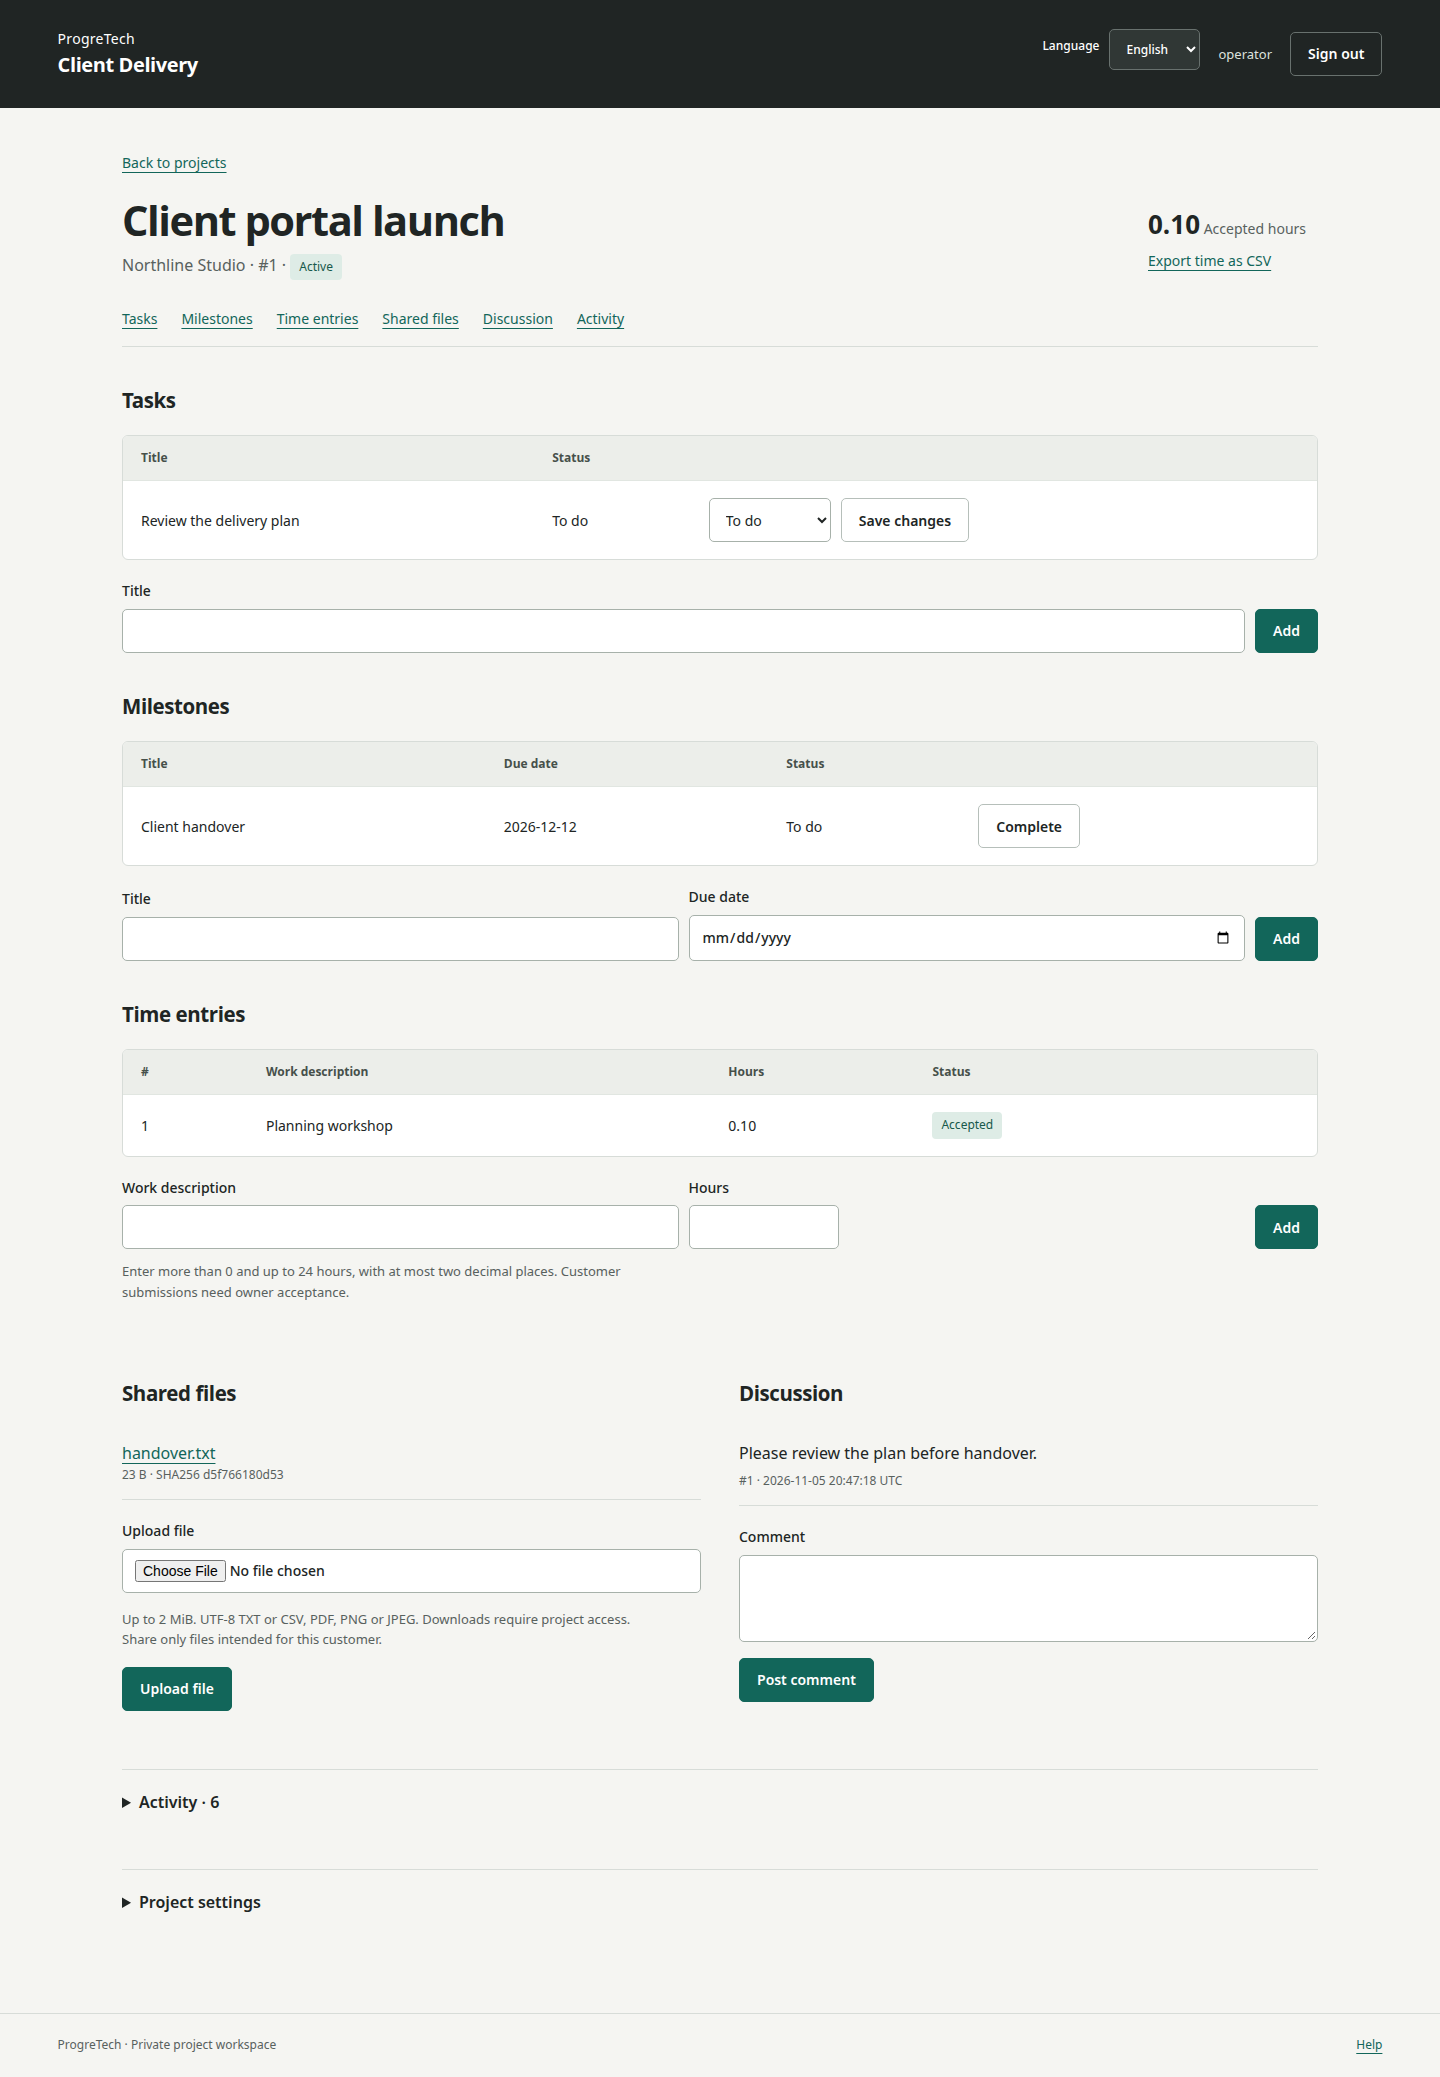
Client Delivery 0.1.0 includes owner/customer-scoped projects, tasks, milestones, comments, exact time acceptance, private files, CSV exports and an activity trail. The client-classic layout is retained. The separate hosted guest companion is temporary; your installation uses persistent local accounts and private storage.
2. Verify and install privately
Verify the downloaded archive and release metadata with the Store verification helper and public key before extraction. Confirm the key fingerprint through a separately trusted ProgreTech channel. Use the private Linux recipe in the included buyer guide, a dedicated service account and a new external data directory. Keep the development listener on loopback.
python3.13 -m venv .venv
.venv/bin/python -m pip install --require-hashes --only-binary=:all: -r distribution/requirements.runtime.lock
.venv/bin/python main.py init --lang en --data-dir /srv/private/client-delivery --username owner
.venv/bin/python main.py serve --lang en --data-dir /srv/private/client-delivery --port 80803. Complete your first workflow
As the owner, create a customer and project, assign access and enable customer updates for this walkthrough. Add tasks, milestones, comments and a synthetic handover file. Sign in as that customer, record time, confirm it is pending and download the permitted file. Return as the owner to accept or reject the pending time and review the project history and CSV export.
4. Set up your coding agent
Use a coding agent that can read project files and run commands. On Windows use PowerShell; on Ubuntu or macOS use Terminal. Check opencode --version before installing: OpenCode 1 and 2 share the command name, so preserve an existing working installation. For a fresh OpenCode 1 setup, install Node.js LTS with npm and Ollama for your OS, then run npm install -g opencode-ai.
For the local OpenCode route, use Ollama 0.15 or later and an already installed model with tool-call support and at least 64k context. Open a terminal in the extracted source folder and run ollama launch opencode. Confirm the chosen provider is local and the agent can open the named source files. Review its diff and commands before applying them. Plain ollama run chat accepts sanitized pasted text; it cannot read the folder or apply a patch by itself.
Prompt: Read docs/en/buyer-cookbook.md and the technical specification before changing the source. Prepare my chosen private Linux VM and external data directory. Preserve roles, CSRF and EN/ES/JA. Keep project ownership, exact time and private attachments intact. Use synthetic data, return a diff, exact commands and backup/restore/rollback steps, and keep secrets and private records out of prompts. Ask before provisioning or paid actions.
node --version
npm --version
ollama --version
ollama list
opencode --version
ollama launch opencode5. Choose a persistent cloud VM
Use one buyer-owned persistent Linux VM: Hetzner Cloud with a Volume, AWS EC2 with EBS, Azure VM with Managed Disk, or Google Compute Engine with Persistent Disk. Keep SQLite on a single durable local filesystem.
Terminate TLS at a maintained reverse proxy, preserve the exact approved hostname and keep Gunicorn on loopback. Restrict SSH to authorized administrators and verify the host fingerprint before connecting. Review the service, firewall and backup commands before provisioning.
The production factory uses DELIVERY_DATA_DIR, DELIVERY_PUBLIC_HOST and DELIVERY_HTTPS=1. Set DELIVERY_LANGUAGE for diagnostics. Keep the directory’s signing key stable, use one Gunicorn worker and a 3 MiB proxy request limit, and preserve the approved Host header.
export DELIVERY_DATA_DIR=/srv/private/client-delivery
export DELIVERY_PUBLIC_HOST=delivery.example.com
export DELIVERY_HTTPS=1
export DELIVERY_LANGUAGE=en
exec .venv/bin/python -m gunicorn --workers 1 --threads 4 --bind 127.0.0.1:8080 'wsgi:create_production_app()'
6. Back up and recover
Use the CLI’s SQLite backup to a new file, encrypt it and keep it off the host. Stop business writers before restoration, restore into a new external directory and sign in again. Restore validates schema version 2, rotates the signing key and clears sessions. Check both roles, accepted time, audit CSV and the restored attachment. Preserve the original source and compatible state; an upgrade from schema 1 is explicit and follows a backup.
unset DELIVERY_DATA_DIR DELIVERY_PUBLIC_HOST DELIVERY_HTTPS
.venv/bin/python main.py backup --lang en --data-dir /srv/private/client-delivery --path /srv/private/client-delivery-before-update.sqlite3
.venv/bin/python main.py restore --lang en --data-dir /srv/private/client-delivery-restored --path /srv/private/client-delivery-before-update.sqlite3
7. Keep access and scope clear
The owner controls projects, customer access and time acceptance. Customers remain within assigned projects; files and downloads stay private. Offline help contains public instructions only. Optional BTP planning is separate from an executable enterprise integration; invoices, payments and enterprise SSO are outside this source edition. Preserve the notices and read the canonical Source License.